We've all been there.
Scrolling through Pinterest, a cute, “easy” project catches our eye, and suddenly, we are off on the DIY train, guns blazing. What we DON'T know is that this point is like the calm before the storm–a moment of pure bliss, as we make a mental list of materials needed for this beautiful, pristine work of art. This stage is denial, the belief that we really can make this super awesome project, when deep down, we know it will possibly be the end of all things sane.
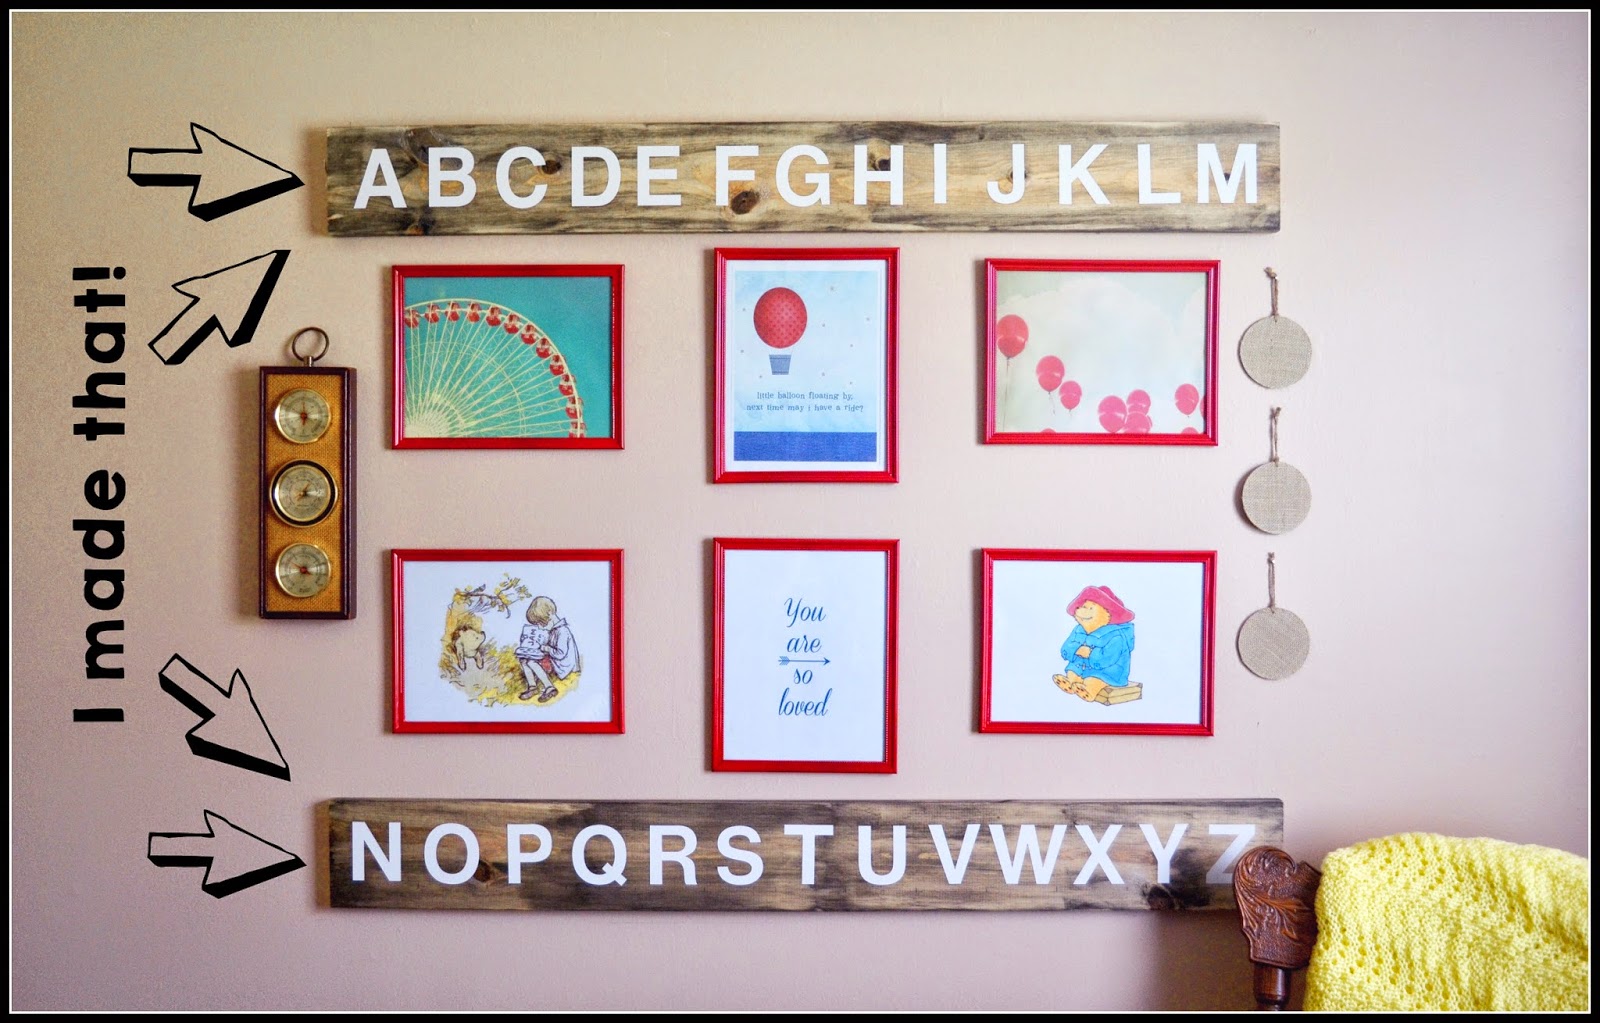
Not only am I a teacher, but I am a soon to be mother. And when I'm not creating for the classroom, I am in search of the perfect nursery. I am a lover of barn wood and lettered signs, but my patience and wallet disagree. Imagine my surprise when this week, I totally threw together this little ABC wall hanging and DIDN'T SAY ONE BAD WORD THE ENTIRE TIME. And it came from my own imagination. And, I only spent about $20.00.
2. Next, go to the picture hanger aisle. Get picture hangers. I bought a pack of 6 for $1.50. They are the kind that look like pointy teeth.
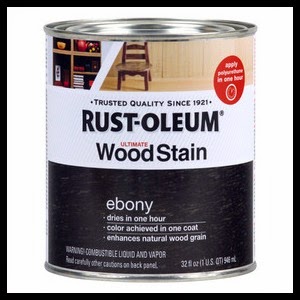
3. Mosey on over to the paint aisle. Get a can of ebony stain. I used Rustoleum, but any ebony will do–half pint is MORE than enough.
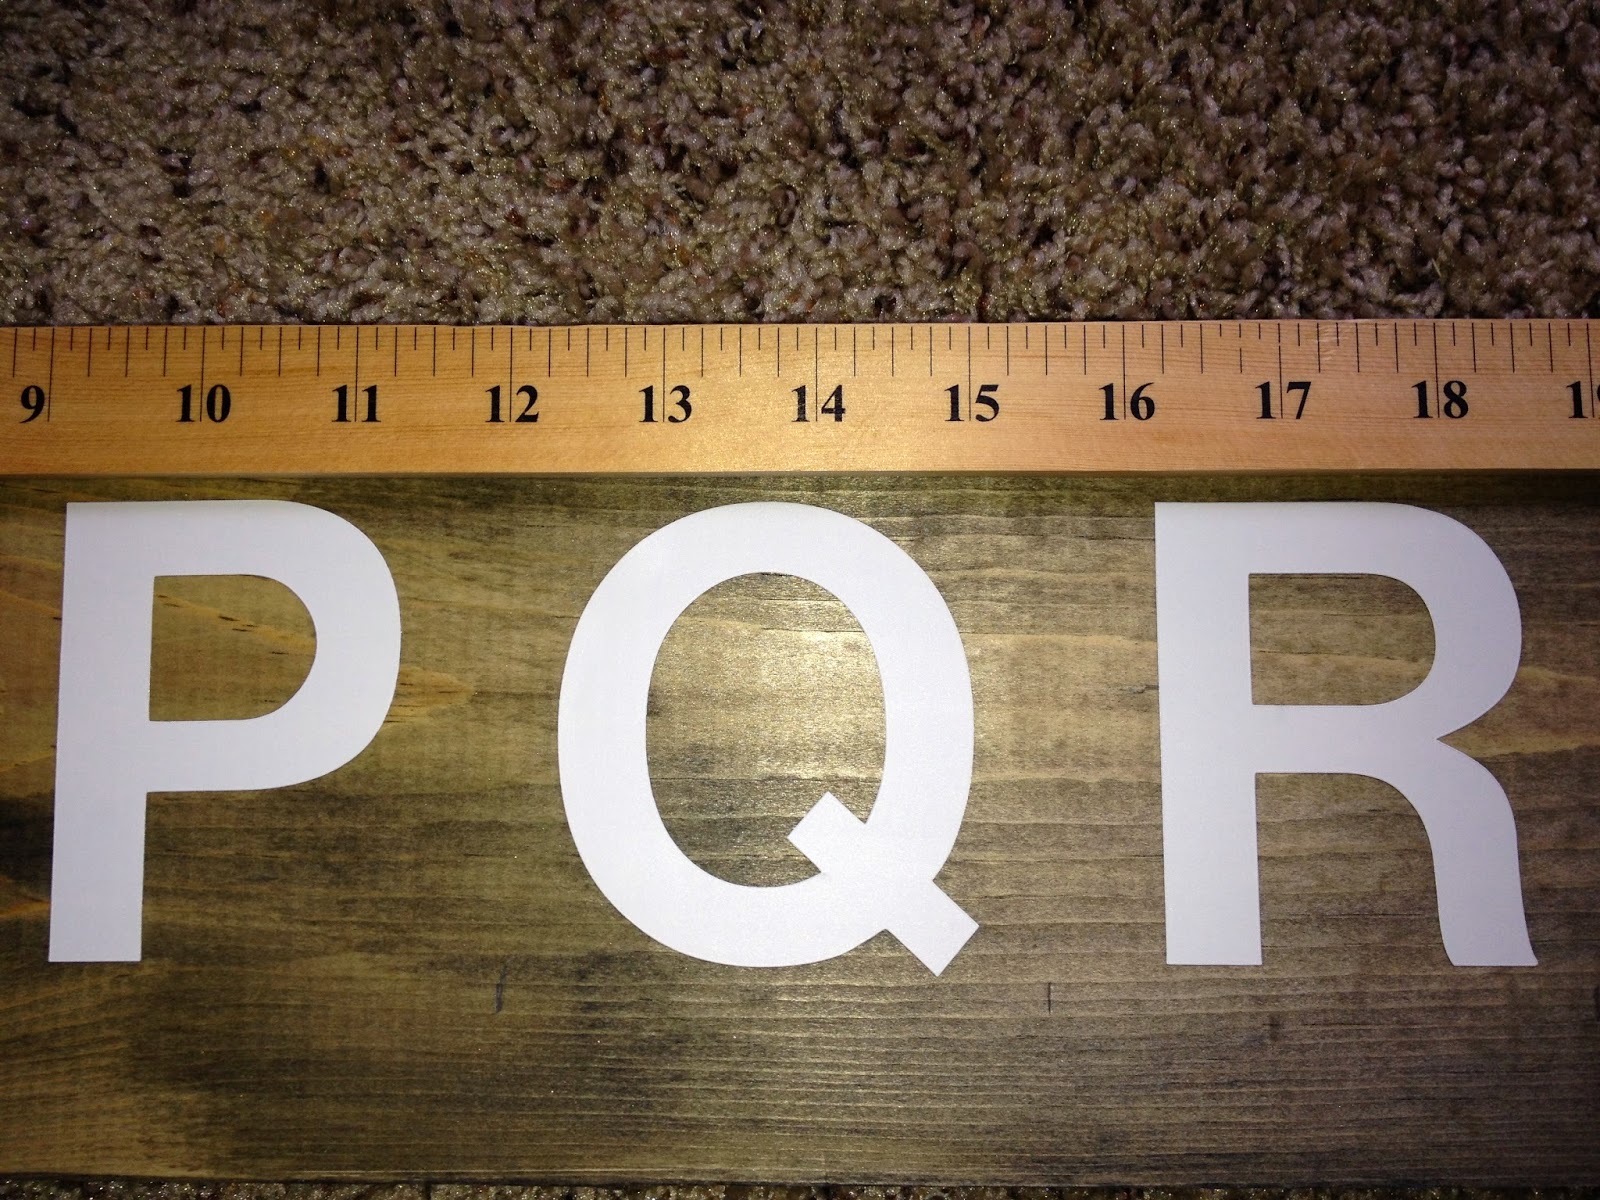
4. Next, drive your crafty self to Michael's where you will purchase vinyl letters, hopefully with a 40% off coupon. I used 3 inch, Helvetica in white. They are found in the stencil aisle.
Other things you will need: yardstick, hammer, some type of sponge or paint brush, a bowl of water, and 2 old rags. I won't insult your intelligence by posting photos of those, I assume you are familiar with those items 🙂
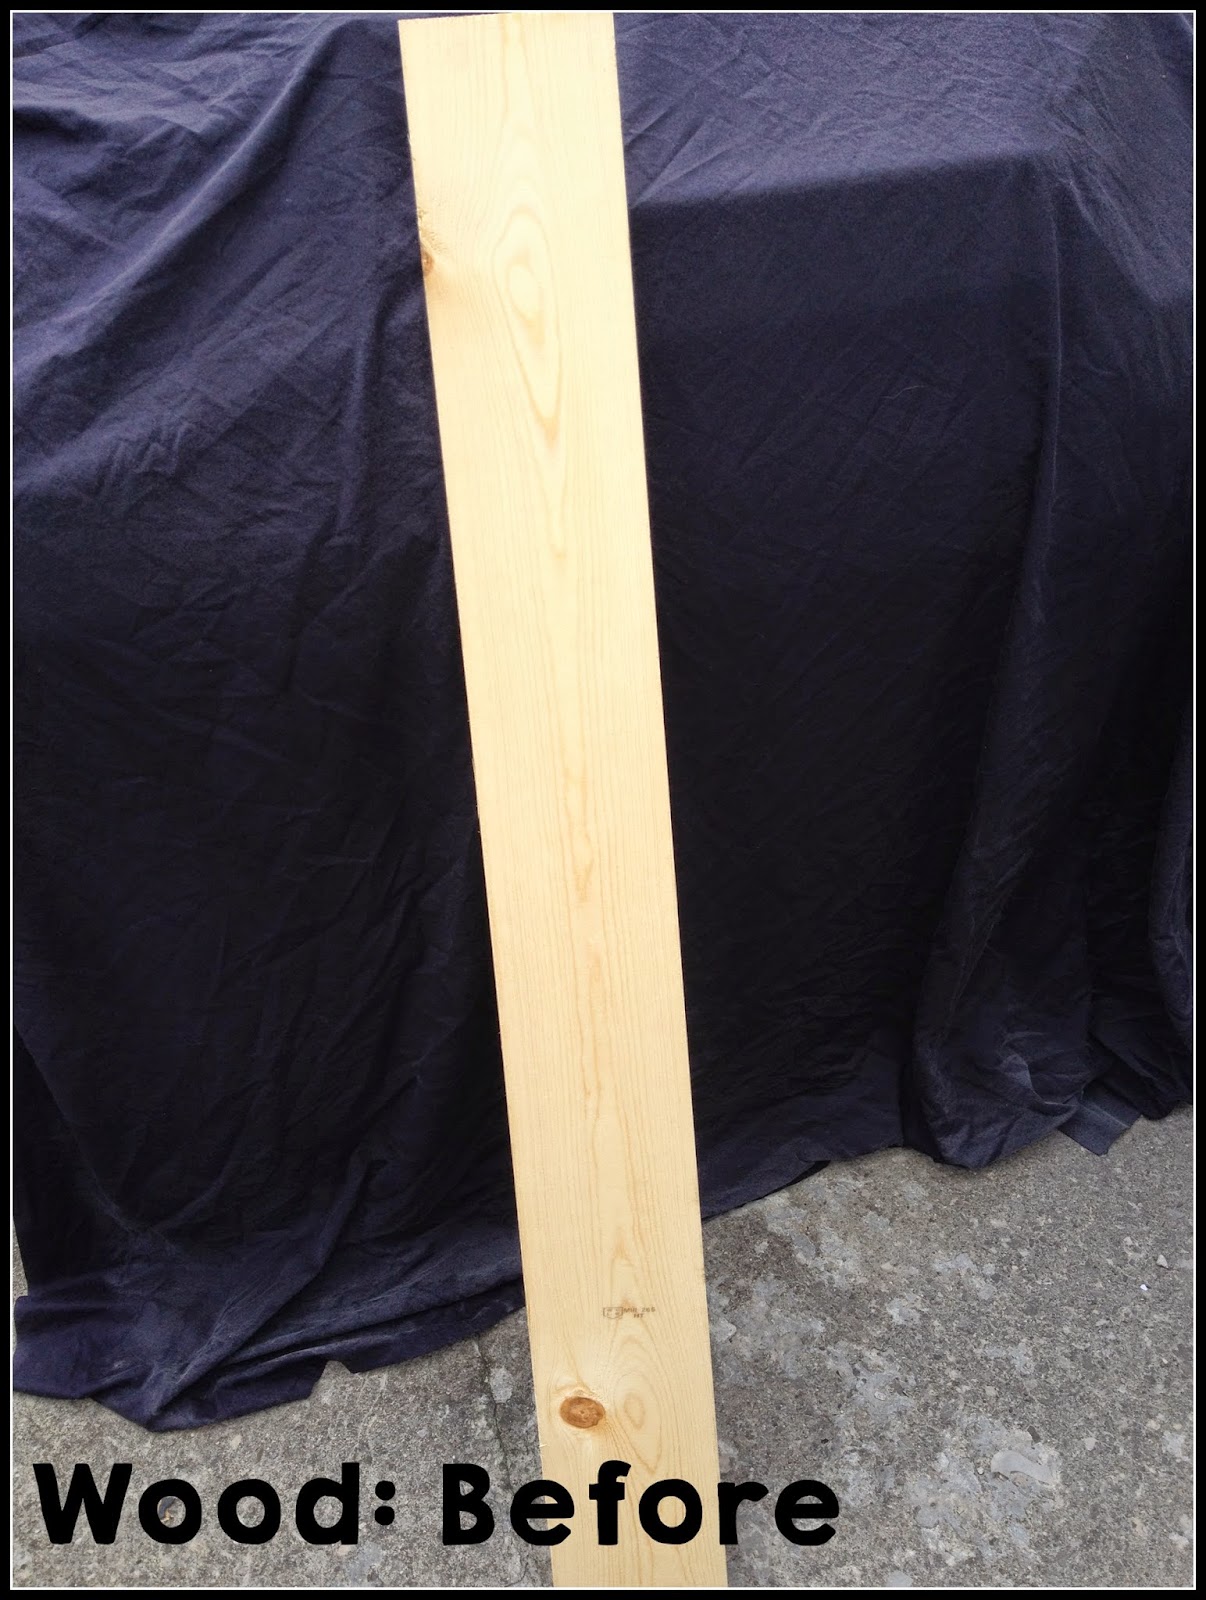
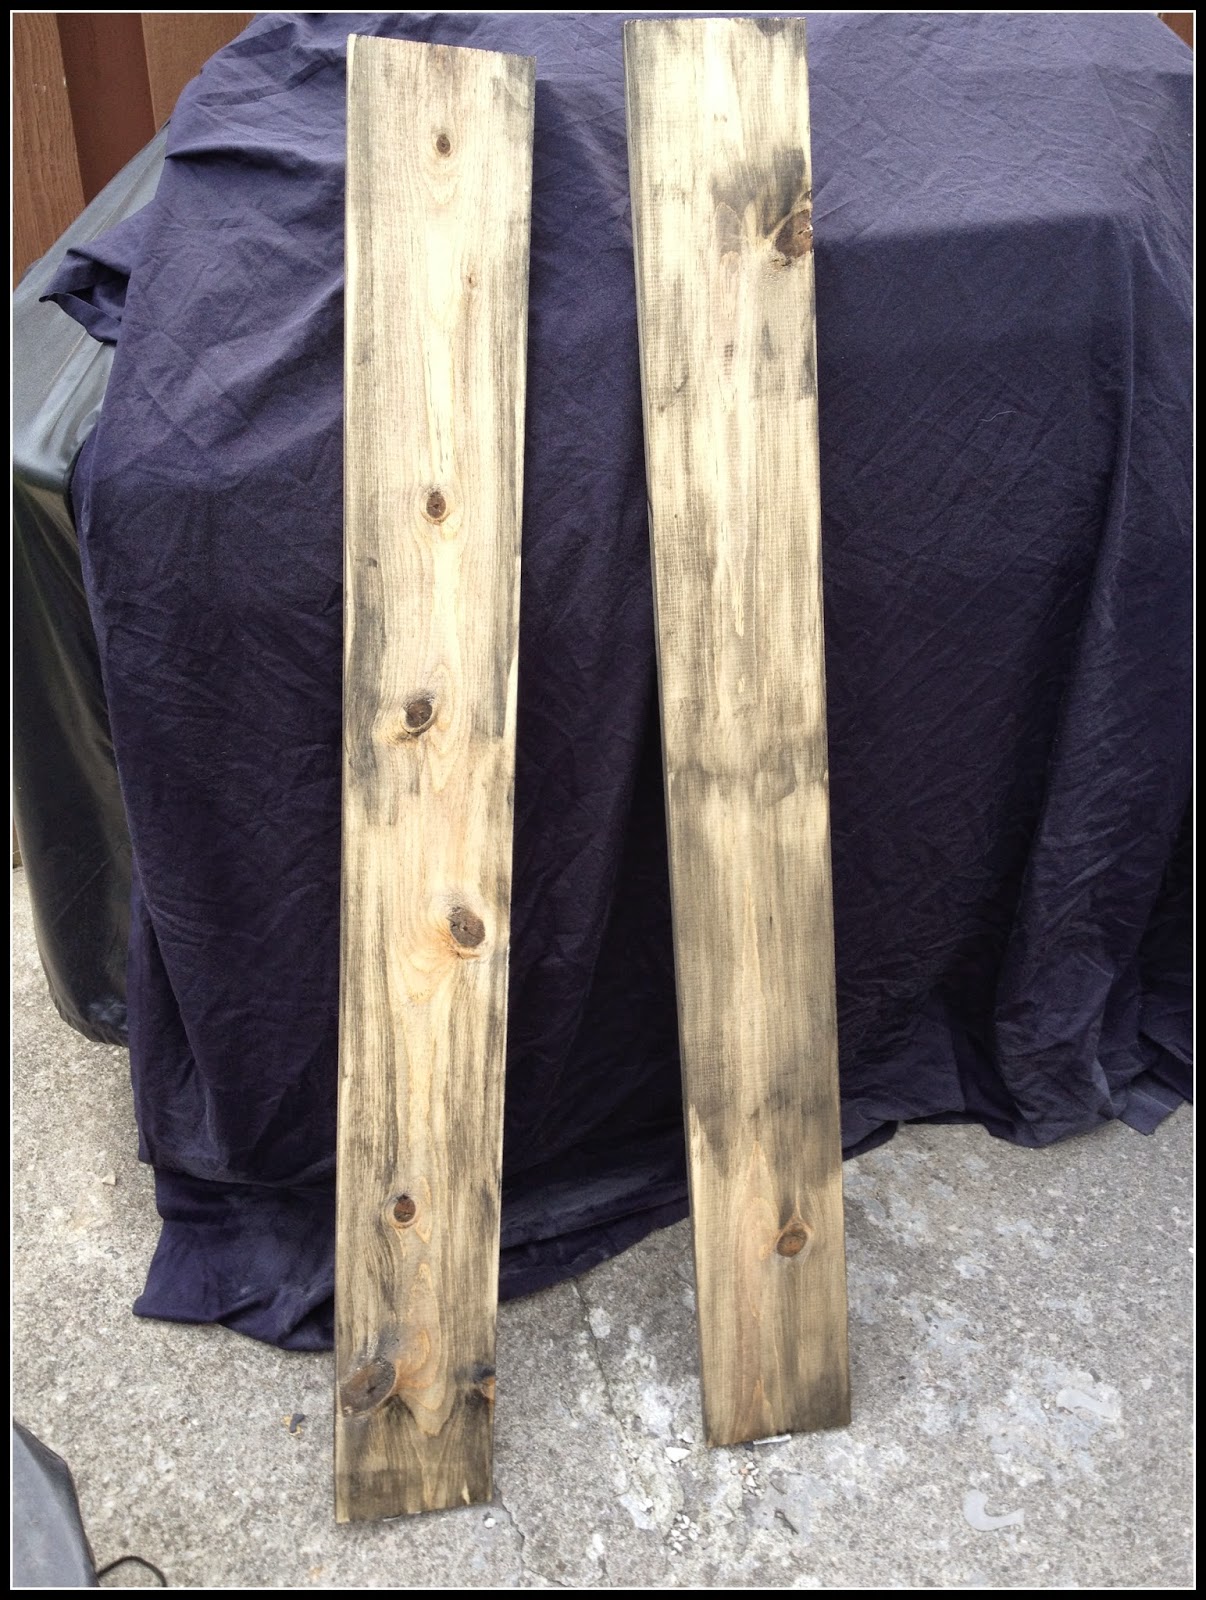
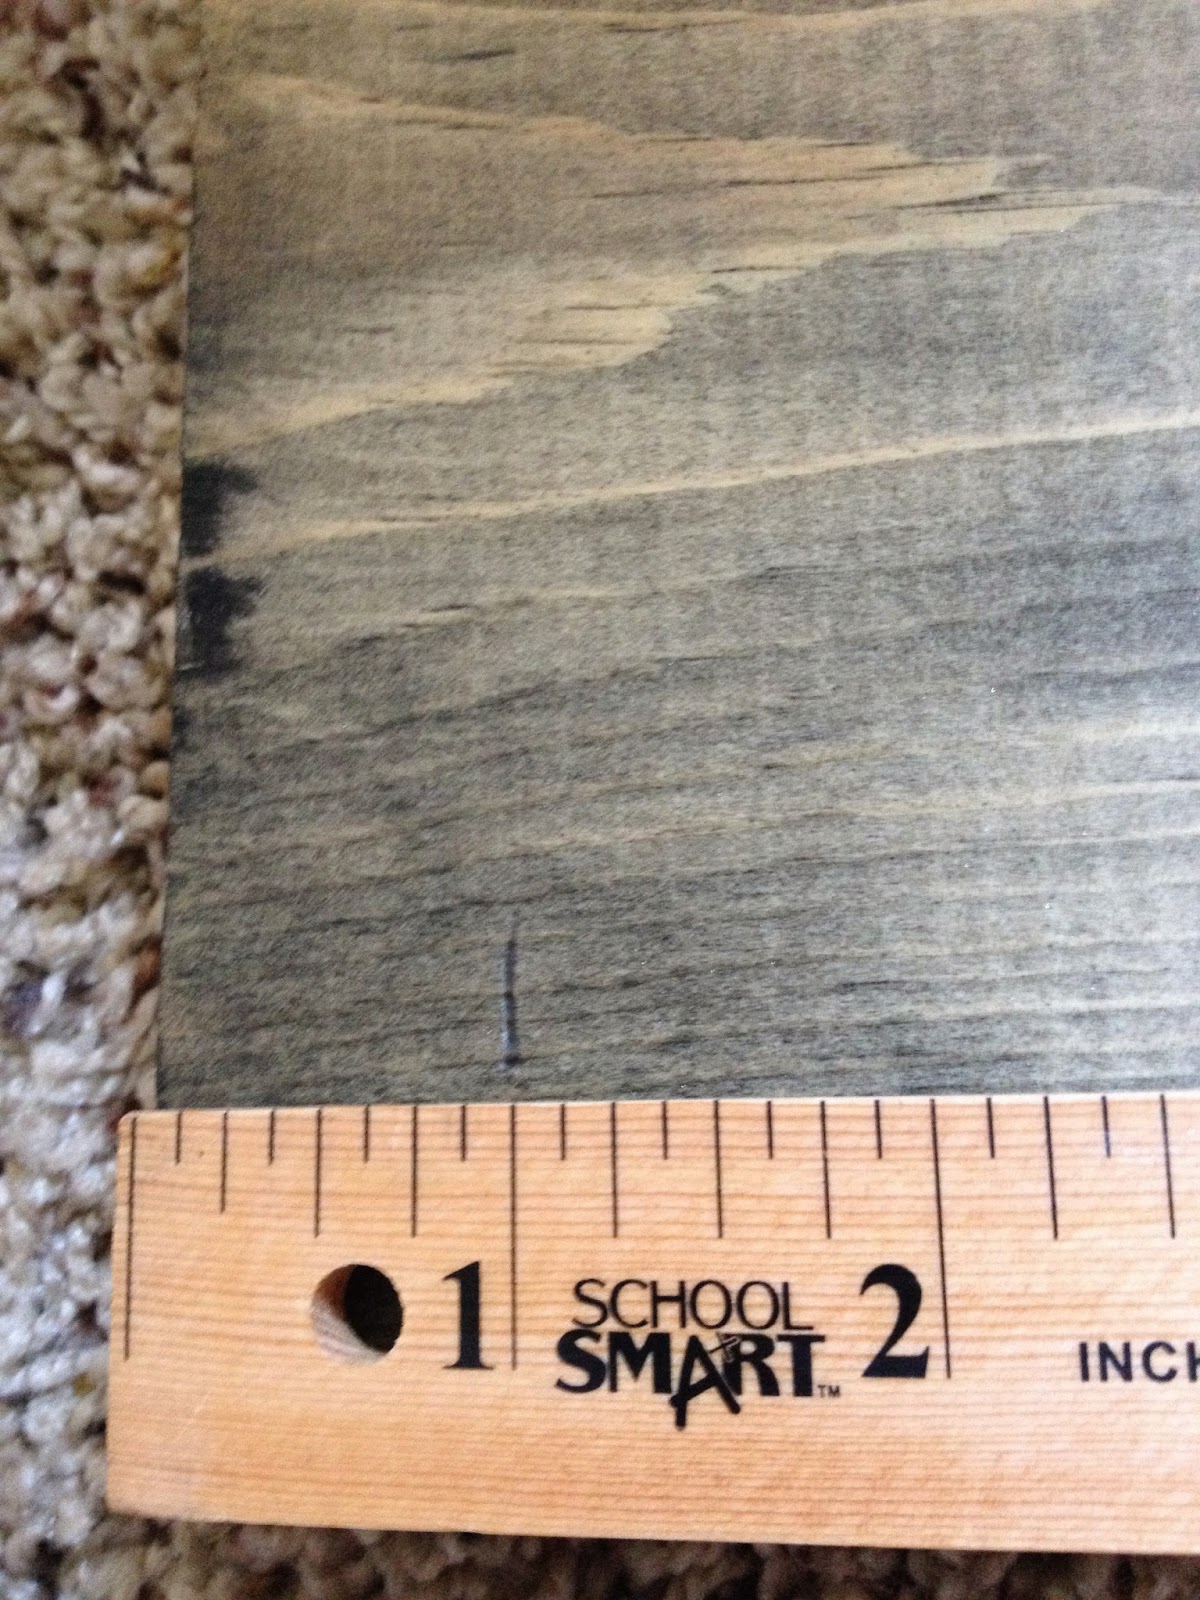
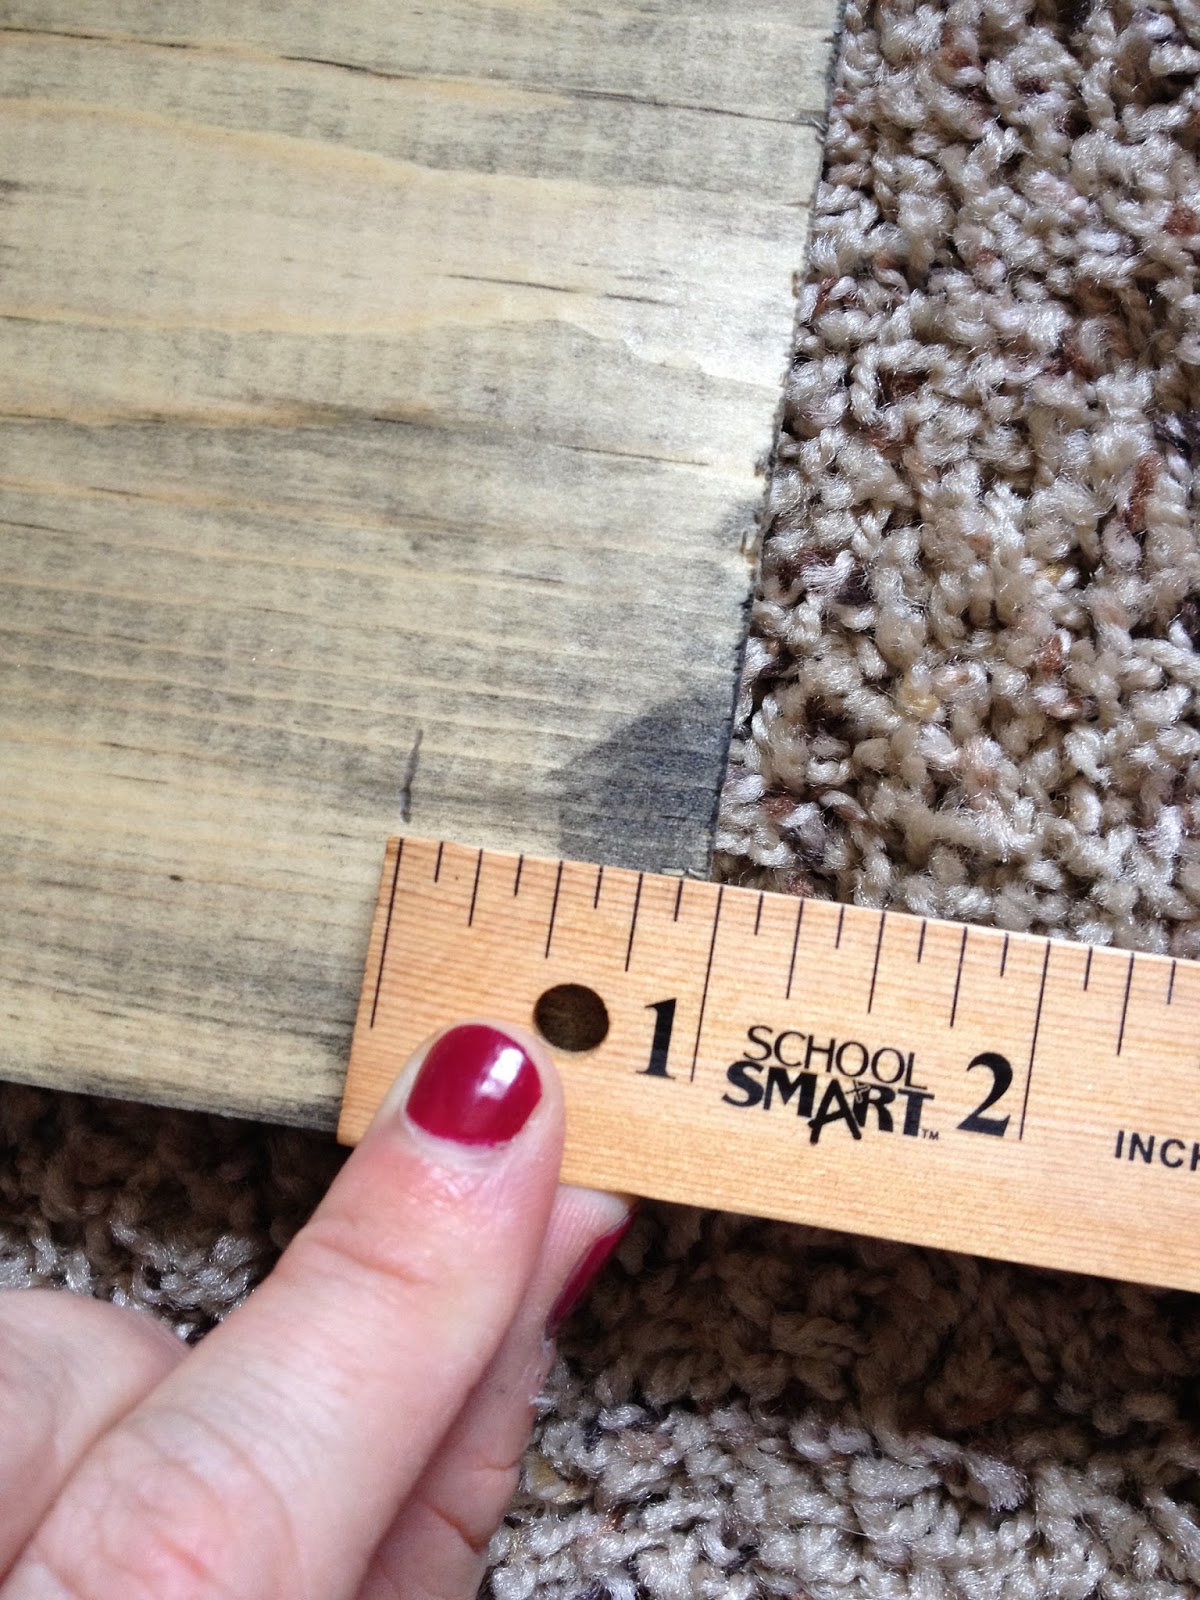
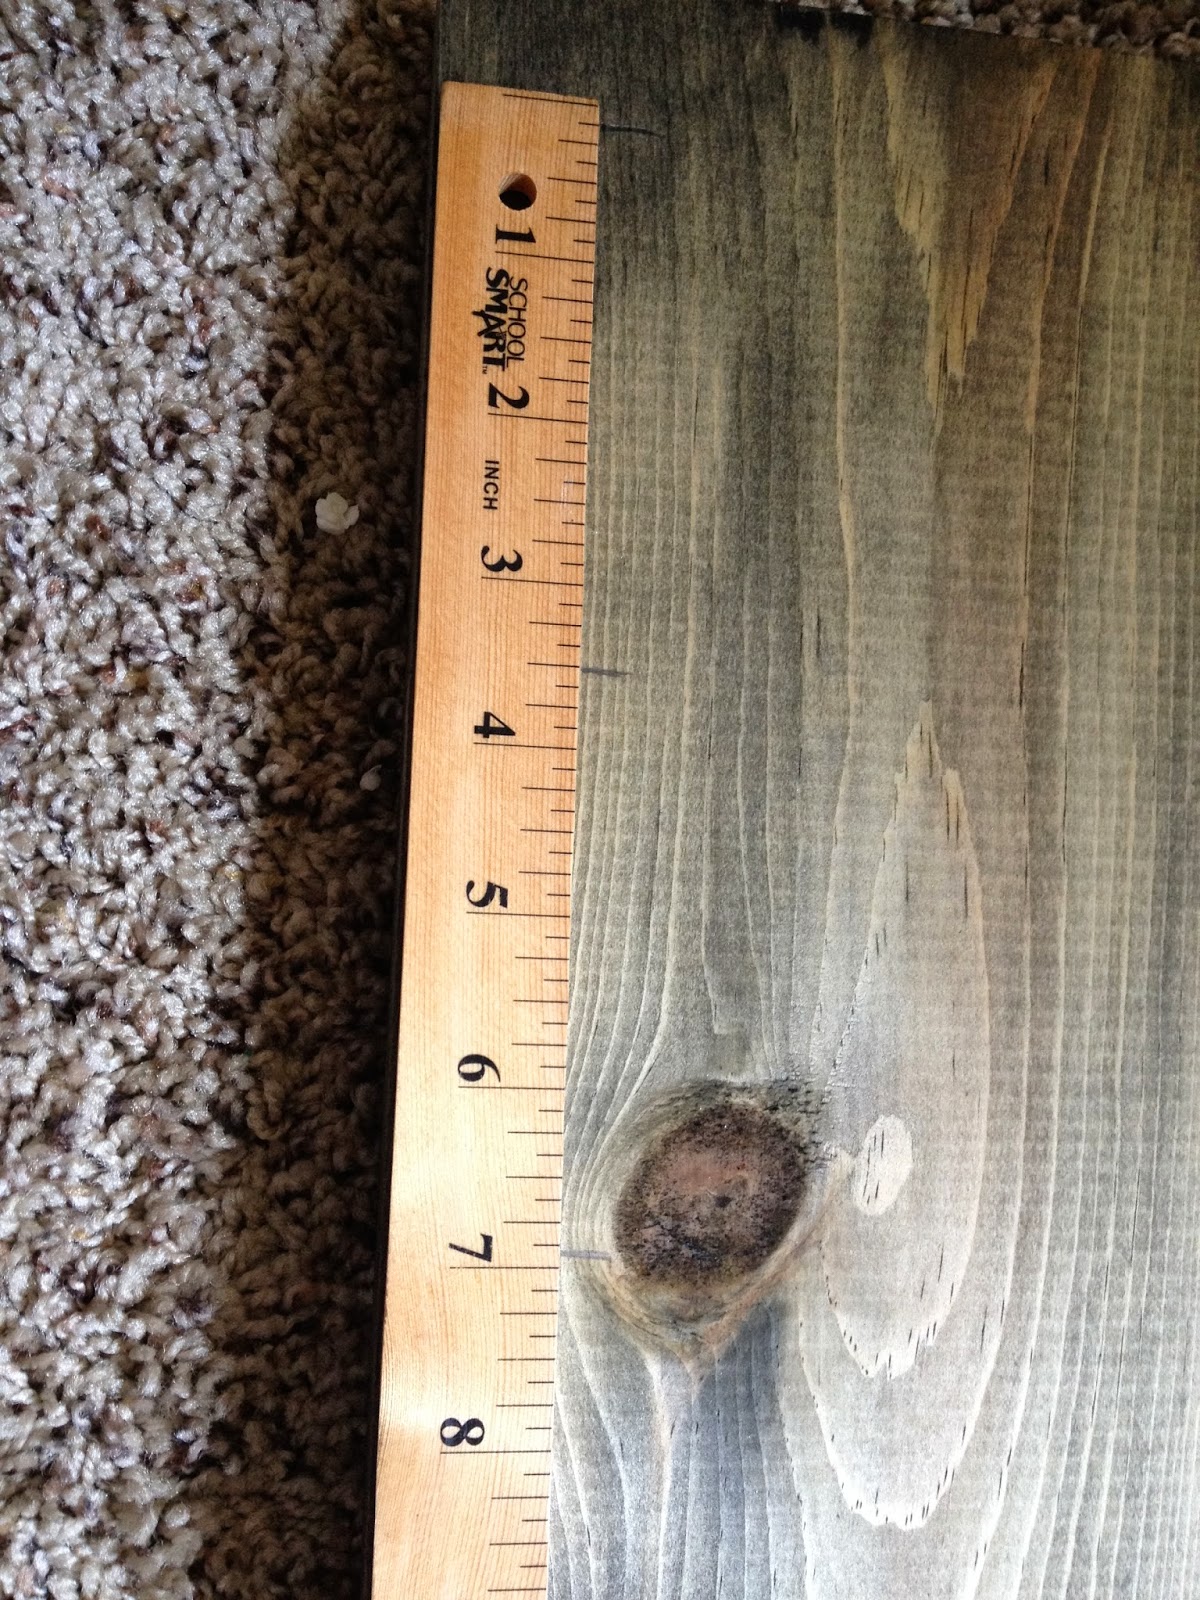
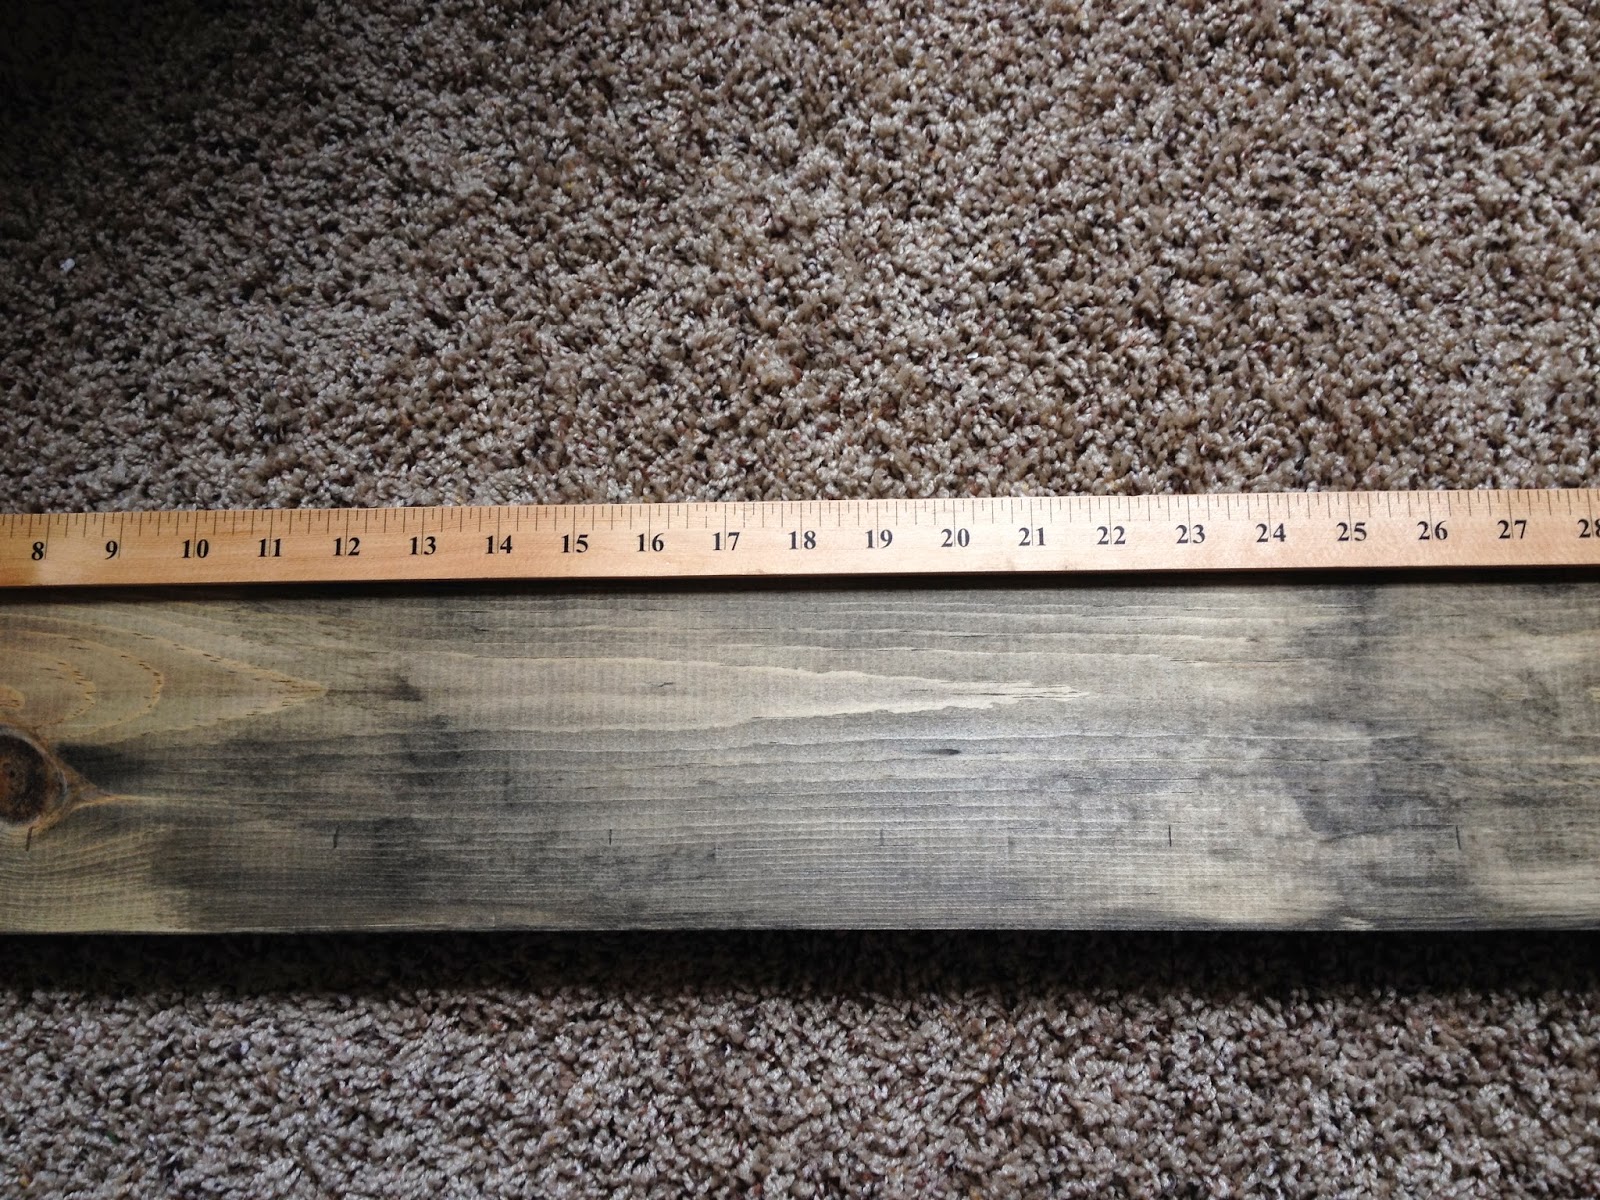
Okay, so this next part is super easy. You will want to shake your stain (shaken, NOT stirred). You are going to drench your rag in the water and wipe down one side of your board so that sucker is soaking wet (I'm talking WET). Next, use your brush to paint stain on the part you have soaked. Quickly after, use your dry rag to wipe off all of the stain. Much of the stain will remain, but it will have a faded look rather than a solid. Repeat this on all surfaces of your board & feel free to repeat on some areas to achieve a darker look. This took me about 15 minutes and my boards looked like this when I was done:
Happy (no, really) crafting!





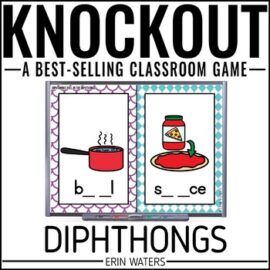
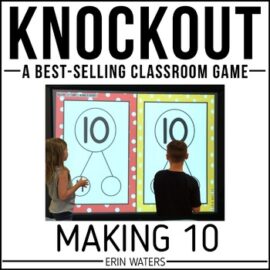
 Arm you with high-quality tools: Sleep peacefully at night knowing you’re doing what’s best for your students.
 Save your energy: Provide resources that cost you little energy (that stuff is precious)---but have high impact on your students.
 Light your spark: Putting fun back into your classroom after the hardest teaching years can be just what you and your students need.
I am super impressed! That is adorable! And you made it without saying any bad words- that's even more impressive. 🙂 Great work!
Sarah
Sarah's First Grade Snippets
I'm nominating you for the Liebster Award. I am so happy I stumbled upon your blog! Check out the nomination by clicking here!
Paige
Really cute!!