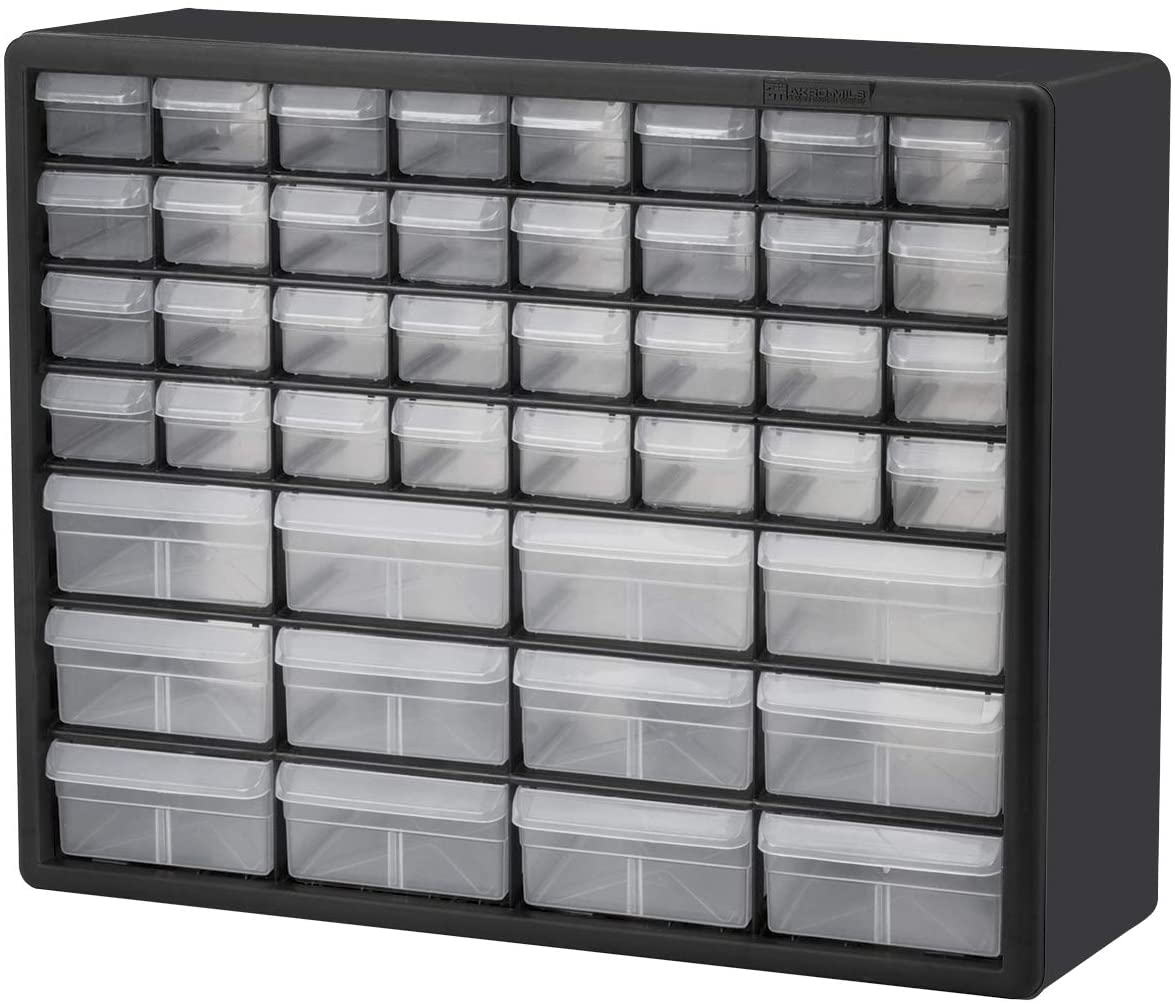
It all started when I unearthed the plastic set of drawers from our basement. A quick clearing of cobwebs, a brief dusting, and dishwasher run for the drawers, and my sight word station was as good as new.
A quick back story first, though.
This year, I became an accidental homeschooler. I never planned to homeschool, and never wanted to, to be honest. But don't let the word homeschool scare you away from this post. One of the silver linings of this year was being able to try out my classroom systems in the small four walls of our makeshift home learning center—and the results were surprising.

I knew that with my kindergartener, it would be a challenge to keep him interested. He was already down on the fact that he was missing out on the traditional Kindergarten experience, so I knew I had to make the most out of our year together without going too overboard. My teacher heart was inclined to pull out all the stops (I miss the classroom, it was my time to shine!); but my mama heart was telling me to keep it simple and hone in on the things that truly matter.
So, our year became all about reading.
We started with a heavy emphasis on high-frequency words, since it was a nice way to boost his confidence and his identity as a reader–even when his reading toolkit was still rather limited.

This meant a lot of predictable text, picture support, and re-reading to build fluency. This also meant several printable books every week, letter magnets scattered everywhere, and so. many. papers.
While I anticipated the simplicity of teaching one student instead of 30, I did not expect the chaotic amount of stuff that was still present in our tiny classroom. I needed a way to store my teaching materials, and fast. Here's how it all unfolded:

I've used this sight word system countless times in my first grade classroom.
First, I determine the word list (the one I currently use is here). While every student is not working from the same list, there is a large collection of sight words we stick to as a group, and those are the ones I included in our drawers.
Then, I determine how I'll organize the words. You really only have to do this once, unless your word list undergoes a major overhaul. Consider how many words you'll need for each student, how many sets you need of each word, and how many you'll house in each drawer. I tested out cards to see how many I could fit in one drawer, then divided my list by 3 when I realized I could house 3 words in each drawer.
[Side note regarding the drawers: Ideally, it's wonderful to have 2 sets of drawers so you can include more than the grade-level words (some below and some above).]
Here's a reference point for you using my own experience:
Using standard card stock, each drawer houses 3 words. For each word, there are two decks of cards (30 cards in each deck). So, each drawer can fit 180 cards. Looks are deceiving here, but it works!

I keep 2 cards for each word per student. This way, there is a card for every student's word ring in addition to cards for playing word games. I've found that trying to make word rings multi-use results in a lot of lost, mangled word cards. It's best to keep them separate! In short, word ring cards stay on the ring, and the word game cards are kept in a bag and meant to be manipulated often. For extra staying power, you could also laminate these cards, but it might impact how well they fit into the drawers.
How can you use the same cards for all of your sight word games and activities?
I use the same collection of sight word games and activities throughout the entire year, and they are all compatible with the same size cards. This is great because you can reuse them again and again even as words change!

How do you use your sight word binders?
You'll also notice that I have a set of sight word binders next to the sight word station. This is where I keep all of the resources we need for sight word instruction, stations, and games all year. It's quite literally a one-stop sight word shop. It's way easier when my brain thinks “sight words” and I immediately know I can find it all in one place.
In the binders, I store all of the posters I use for sight word instruction, sight word stations and games, sight word book printable originals, and sight word sentences.
Of course, not everything can be contained to these drawers and the binders, which is why I recommend having a second set of drawers to house additional literacy materials. I find that using this station design across curricular areas has been wonderful for streamlining my planning. If I had a second set of drawers (I'm currently working out of plastic shoeboxes from The Dollar Tree), I'd include the following:
(This. list is actually a direct excerpt from my sight word reusable menu that I use yearround. It's amazing to establish a set of games, activities, and expectations at the beginning of the year and use it with different words all year round.
- Magnetic letters
- Plastic letter tiles
- Dice
- Spinners
- Play-Doh
- Q-tips
- Plastic cups
- Cubes
- LEGO or other building blocks
- Beanie Babies or other plush, small “friends”
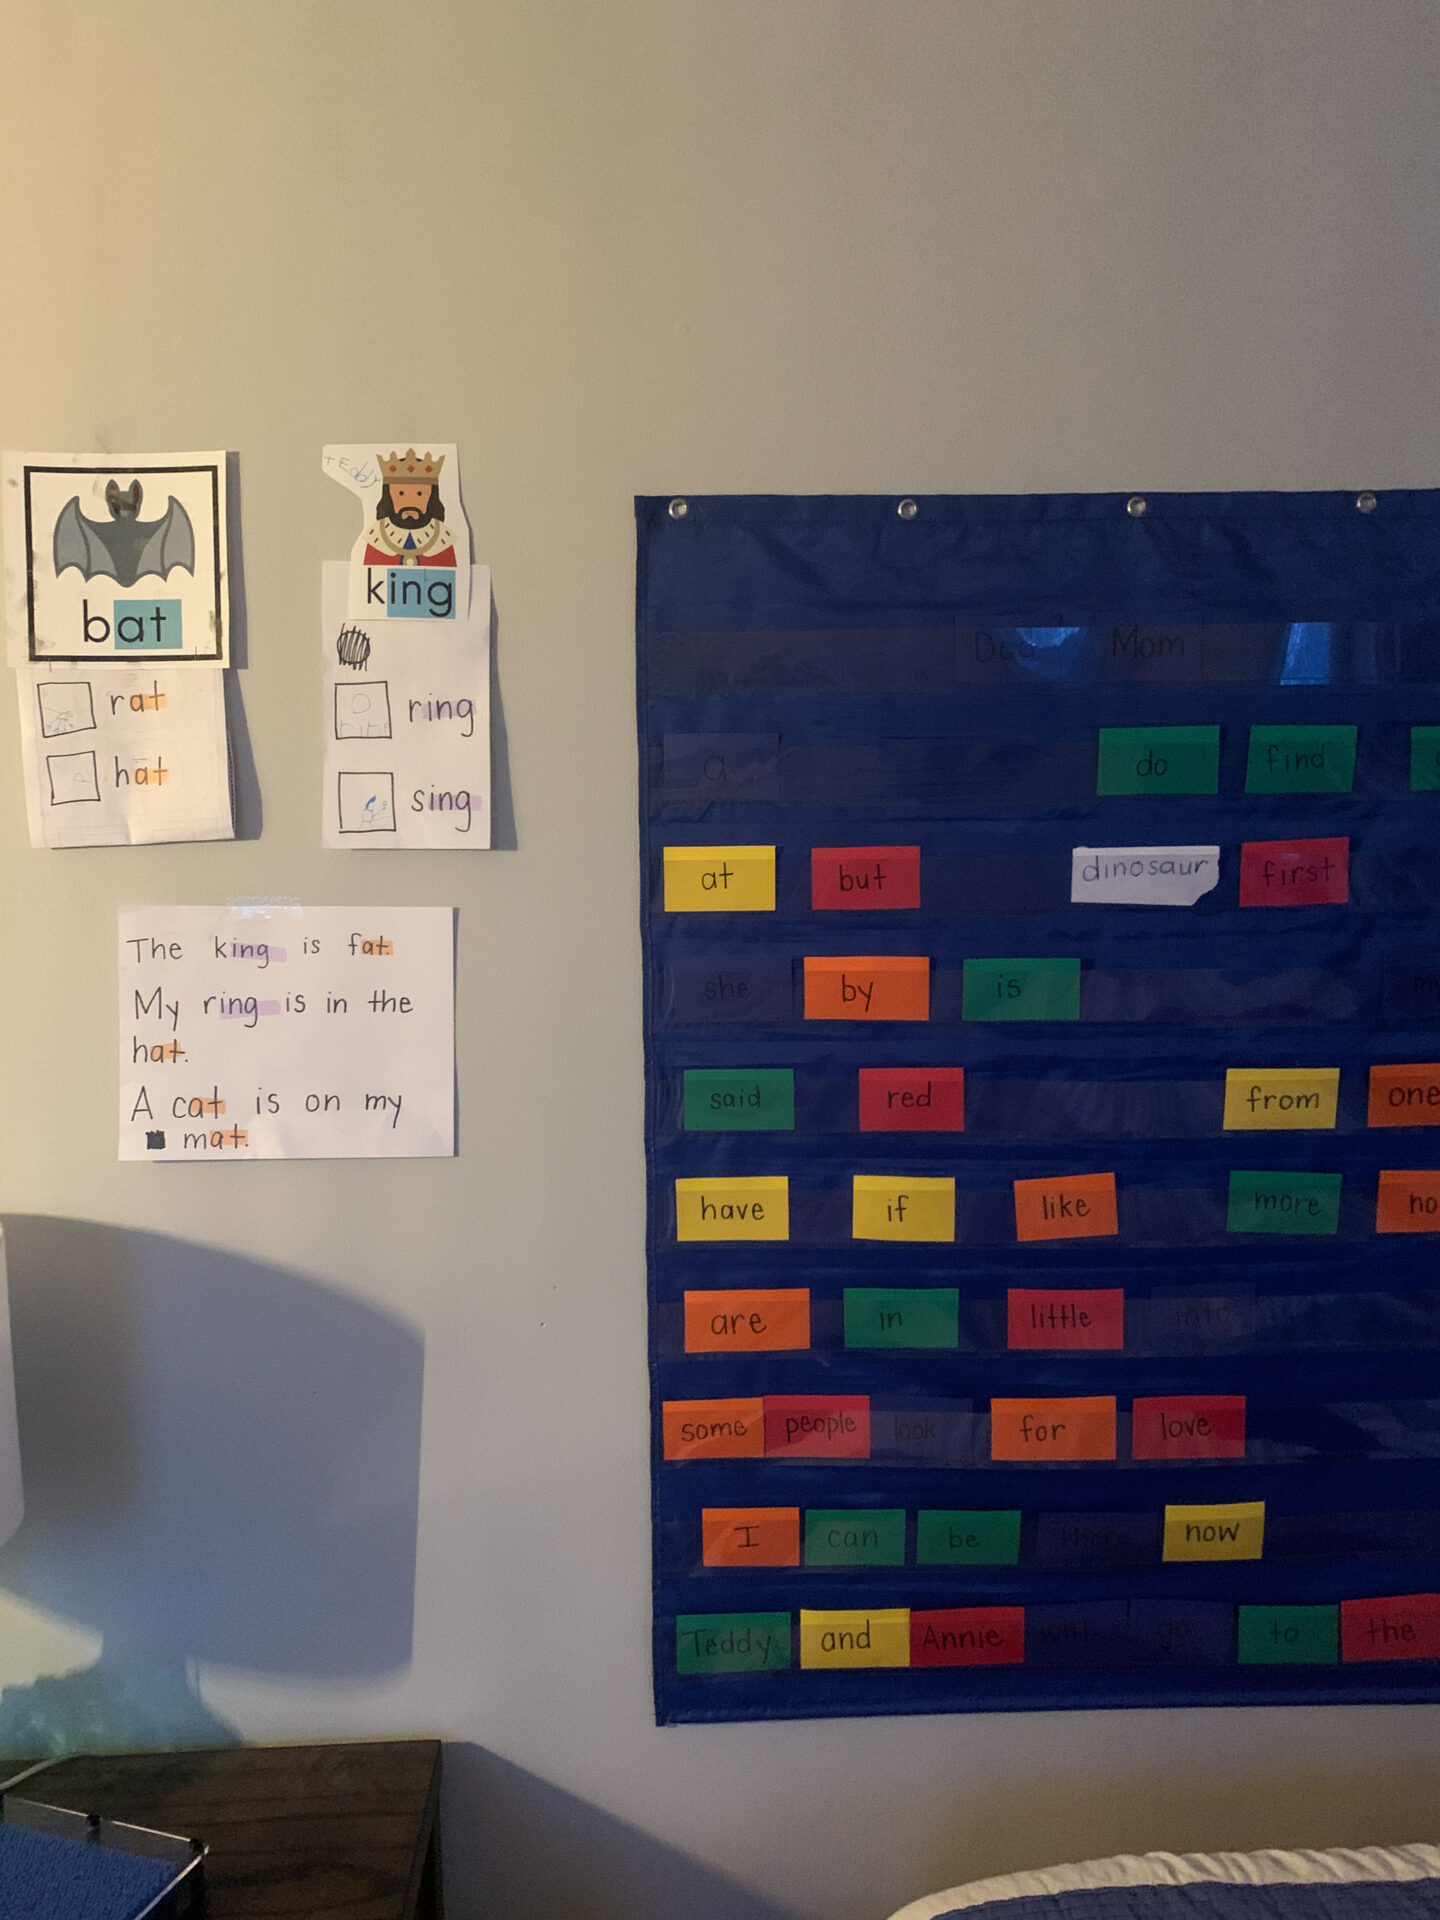
The last area of our sight word station that is not pictured is our beloved pocket chart. It actually hangs in my son's room for now since he spends so much time in there. We just take a quick detour during school hours 😉
What else do you store in those drawers?
I love this specific set of drawers because it has wider drawers in addition to narrow ones. The wide drawers are used to house common sight word learning supplies. In particular, here is how I use each drawer:
- Color-coding stickers
- Black backing and extra white word cards (blank)
- Glue sticks
- Hole punch
- Extra binder rings
- Highlighters
- Highlighting tape
- Paper clips
- Giant push pins
- Squares for illustration
You can read more in-depth about all the materials I use for sight word instruction here. But in general, the wider drawers are great for storing supportive materials for your sight word station.


Get free sight word + other teaching tips weekly!
Sign up for the Elementary EDU newsletter.



 Arm you with high-quality tools: Sleep peacefully at night knowing you’re doing what’s best for your students.
 Save your energy: Provide resources that cost you little energy (that stuff is precious)---but have high impact on your students.
 Light your spark: Putting fun back into your classroom after the hardest teaching years can be just what you and your students need.
Leave a Comment